Introduction
If you’re craving a dessert that’s both indulgent and impressive, look no further than the perfect lava cake. With a rich, molten center and a soft, cake-like exterior, lava cake is a chocolate lover’s dream come true. But making the perfect lava cake takes precision—timing and the right ingredients are key to ensuring that the center remains gooey and delicious.
In this step-by-step guide, we’ll show you how to make the perfect lava cake with simple ingredients and expert tips. Whether you’re hosting a special dinner or simply satisfying your sweet tooth, this lava cake recipe will have everyone asking for seconds!
What is Lava Cake?
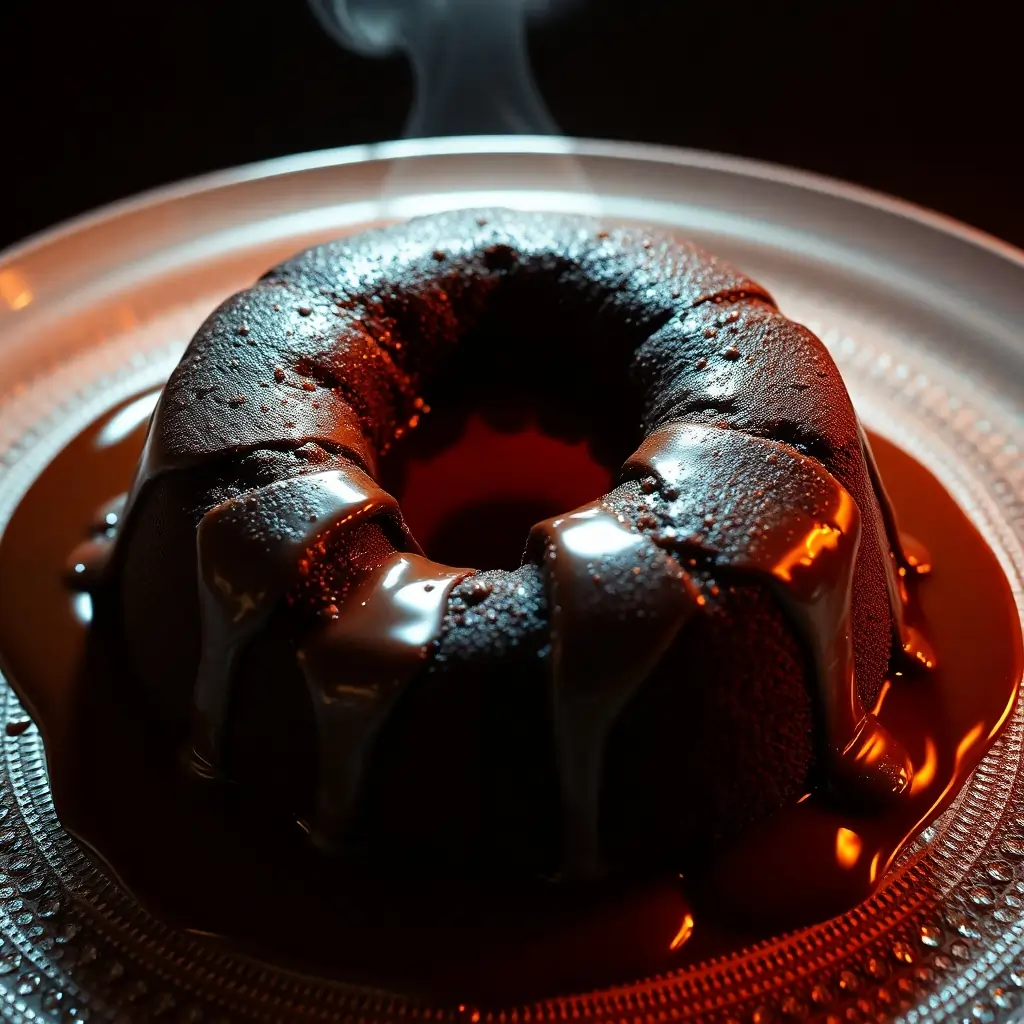
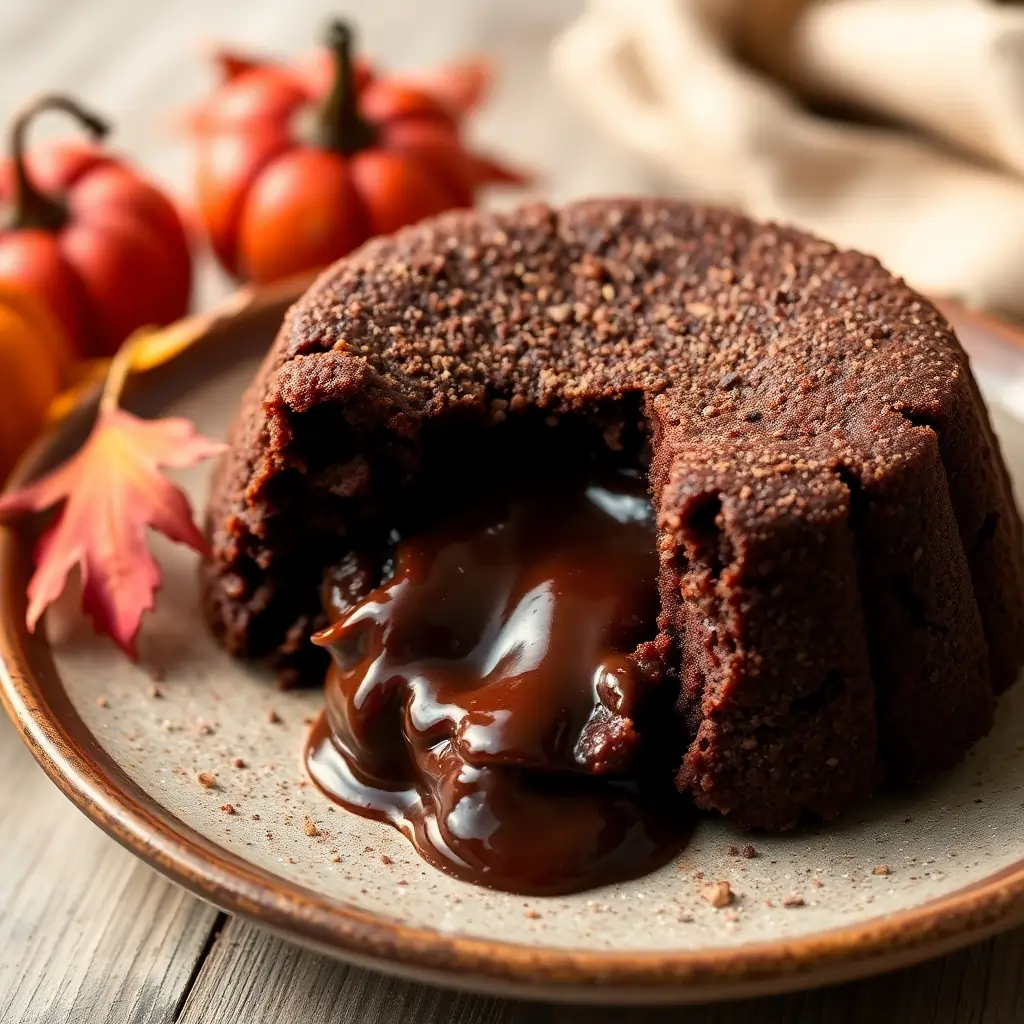
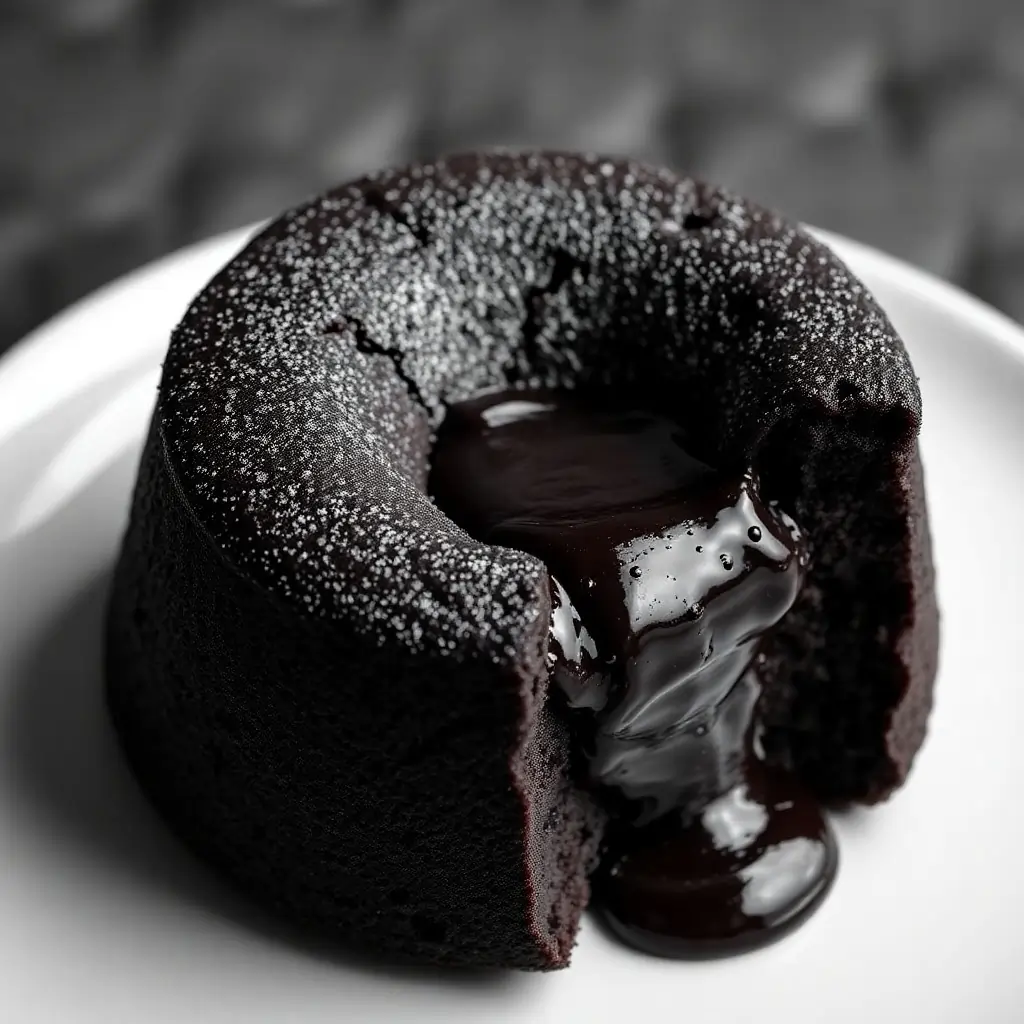
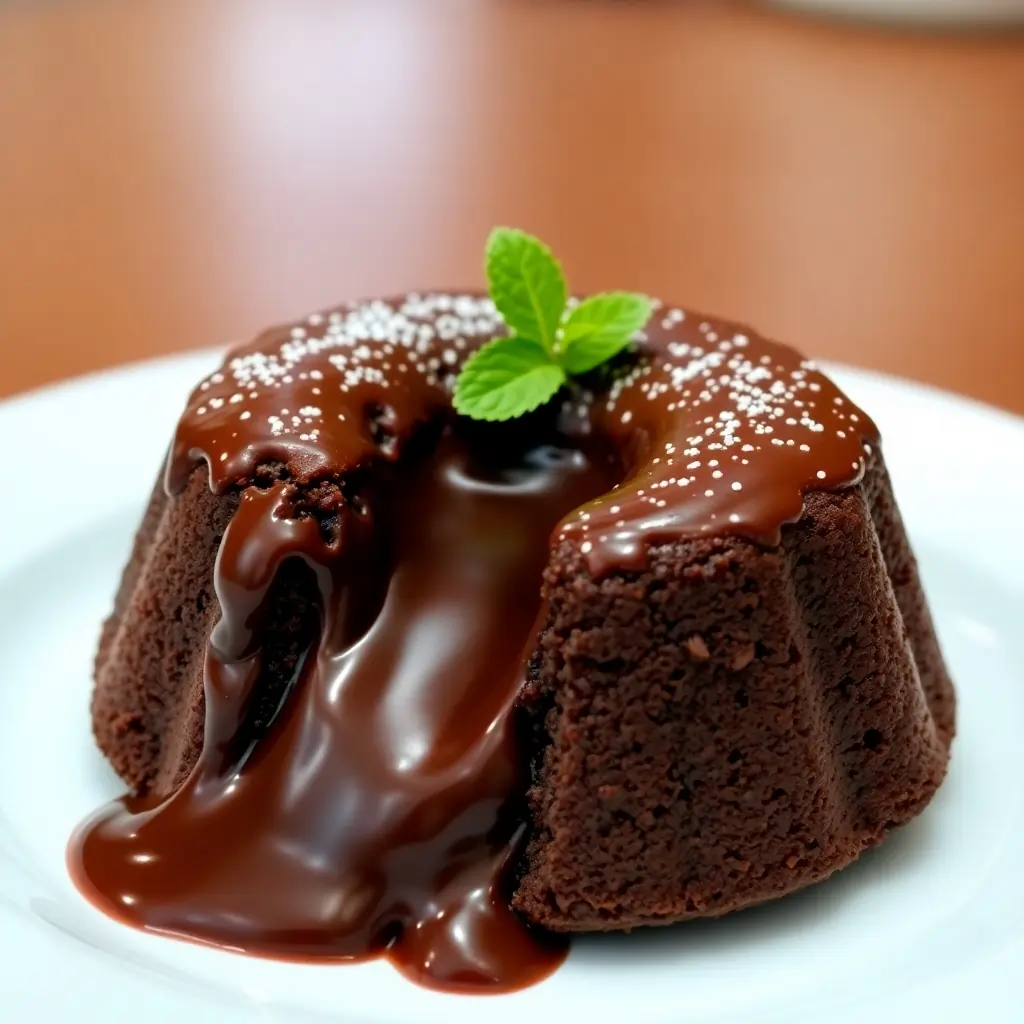
Lava cake, also known as molten chocolate cake, is a beloved dessert that combines the rich flavor of chocolate with a unique, gooey texture. Its signature feature is the molten center, which flows like lava when the cake is cut, giving it its distinctive name.
A Brief History of Lava Cake
This dessert is thought to have originated in France, where chefs sought to create a simple and indulgent dish. It became internationally popular in the late 20th century, celebrated for its ability to deliver a warm, luxurious chocolate experience.
Why It’s Called Lava Cake
The name “lava cake” stems from its molten center. When baked correctly, the outer layer forms a soft sponge, while the inside remains a warm, liquid chocolate mixture. This contrast in textures is what makes lava cake so irresistible.
A Favorite Among Chocolate Lovers
Chocolate enthusiasts worldwide adore lava cake for its intense chocolate flavor and the dramatic reveal of its molten core. It’s often served on special occasions or as the grand finale of a meal.
What Makes Lava Cake Unique?
Unlike traditional cakes, lava cake requires precise timing and the right balance of ingredients to achieve its signature molten center. This uniqueness sets it apart from other desserts and makes it a must-try for anyone who enjoys baking or eating chocolate-based treats.
Ingredients Needed for the Perfect Lava Cake
Creating the perfect lava cake starts with selecting the right ingredients. Each component plays a vital role in achieving the cake’s rich flavor, gooey center, and soft exterior. Here’s a detailed look at what you’ll need:
1. Chocolate: The Star Ingredient
- Type of Chocolate: Use high-quality semi-sweet or dark chocolate (at least 60-70% cocoa). This ensures a rich and intense flavor. Avoid milk chocolate, as it may make the batter too sweet.
- Why It Matters: The chocolate determines the cake’s taste and the molten texture of the center.
2. Butter: For Creaminess and Moisture
- Type of Butter: Unsalted butter is preferred to control the saltiness of the dessert.
- Role in the Recipe: Butter combines with chocolate to form the base of the batter, ensuring smoothness and richness.
3. Eggs: The Binding Agent
- What You Need: Use large, fresh eggs (two whole eggs and two yolks).
- Importance: Eggs provide structure and help the cake rise while keeping the molten center gooey. The extra yolks add to the creamy texture.
4. Sugar: Sweetening the Cake
- Type of Sugar: Granulated sugar works best. Adjust the amount based on the chocolate’s sweetness.
- Purpose: Sugar balances the bitterness of the chocolate and helps create a soft, tender crust.
5. All-Purpose Flour: For Structure
- Why It’s Minimal: Lava cakes use only a small amount of flour to maintain their delicate texture. Overloading with flour can make the cake too dense and compromise the gooey center.
6. Optional Add-ons for Extra Flavor
- Vanilla Extract: Adds a hint of sweetness and depth to the flavor.
- Cocoa Powder: Lightly dust ramekins with cocoa powder instead of flour for a chocolatey outer layer.
Ingredient Quantities (for 4 servings):
- Semi-sweet chocolate: 1 cup (about 6 oz)
- Unsalted butter: 1/2 cup (1 stick)
- Granulated sugar: 1/4 cup
- All-purpose flour: 1/4 cup
- Eggs: 2 whole eggs + 2 yolks

Step-by-Step Guide to Making Lava Cake
Making a lava cake might seem intimidating, but with this step-by-step guide, you’ll have no trouble creating a dessert that’s perfectly gooey in the center and soft on the outside. Let’s dive into the process!
1: Prepare Your Ramekins
- Why it’s Important: Properly preparing your ramekins ensures that the cakes release easily without breaking.
- How to Do It:
- Grease each ramekin thoroughly with butter.
- Dust with a light coating of cocoa powder or flour. Tap out the excess.
- Place them on a baking sheet for stability while baking.
2: Melt Chocolate and Butter
- Why it’s Important: Melting these together creates the rich, smooth base of the batter.
- How to Do It:
- Combine 1 cup of semi-sweet chocolate and 1/2 cup of unsalted butter in a heatproof bowl.
- Melt over a double boiler or in the microwave in 30-second intervals, stirring until smooth.
- Allow it to cool slightly before moving to the next step.
3: Mix Wet and Dry Ingredients
- How to Prepare the Wet Mixture:
- In a separate bowl, whisk 2 whole eggs, 2 yolks, and 1/4 cup sugar until pale and frothy.
- Slowly pour the melted chocolate mixture into the eggs, whisking continuously to avoid scrambling.
- Incorporate the Dry Ingredients:
- Gently fold in 1/4 cup of sifted all-purpose flour.
- Mix just until combined. Overmixing can affect the texture.
4: Pour Batter into Ramekins
- How to Do It:
- Evenly divide the batter among the prepared ramekins, filling them about three-quarters full.
- Smooth the tops with a spoon or spatula for even baking.
5: Bake to Perfection
- Temperature and Timing:
- Preheat your oven to 425°F (220°C).
- Bake for 12–14 minutes. The edges should be set, but the centers should still look slightly underdone.
- Pro Tip: Keep an eye on the cakes during the last few minutes. Overbaking will turn the molten center solid.
6: Serve Immediately
- How to Serve:
- Let the cakes cool for 1–2 minutes.
- Carefully run a knife around the edges to loosen them.
- Invert each ramekin onto a dessert plate and gently lift it off.
- Garnish with powdered sugar, fresh berries, or a scoop of vanilla ice cream for an extra treat.
Tips for Perfecting Your Lava Cake
Achieving the perfect lava cake requires attention to detail. These tips will help ensure your dessert turns out with a gooey center and a soft, moist outer layer every time.
1. Use High-Quality Ingredients
- Why It Matters: The flavor of your lava cake depends heavily on the chocolate you use. Opt for high-quality semi-sweet or dark chocolate with at least 60% cocoa content. Fresh eggs and unsalted butter also enhance the cake’s taste and texture.
2. Properly Prepare Your Ramekins
- Why It Matters: If the cakes stick to the ramekins, the molten center might break during unmolding.
- Pro Tip: Grease your ramekins thoroughly with butter and dust them with cocoa powder for a chocolatey finish. This not only prevents sticking but also adds extra flavor.
3. Don’t Overmix the Batter
- Why It Matters: Overmixing can incorporate too much air into the batter, which may affect the cake’s texture.
- How to Avoid It: Gently fold the dry ingredients into the wet mixture until just combined.
4. Monitor Baking Time Closely
- Why It Matters: Baking for too long will cook the molten center, while underbaking can cause the cake to collapse.
- Pro Tip: Start checking the cakes at 12 minutes. The edges should be set and slightly firm, while the center should jiggle slightly when the ramekins are gently shaken.
5. Adjust Your Oven
- Why It Matters: Oven temperatures can vary, affecting the baking time.
- How to Adapt: Use an oven thermometer to ensure your oven is at 425°F (220°C). Adjust the baking time by 1–2 minutes based on how your oven performs.
6. Make and Store Batter Ahead of Time
- Why It Matters: Prepping in advance saves time when hosting or preparing multiple desserts.
- How to Do It: Prepare the batter, pour it into ramekins, and cover with plastic wrap. Refrigerate for up to 24 hours. Allow the ramekins to come to room temperature before baking.
7. Test with a Trial Cake
- Why It Matters: A trial run lets you perfect the timing and texture based on your specific ingredients and equipment.
- Pro Tip: Make a single lava cake first to test the baking time and oven settings.
8. Enhance the Presentation
- Why It Matters: A beautiful presentation makes your dessert even more appealing.
- Serving Suggestions: Dust the cake with powdered sugar, top with fresh berries, or add a scoop of vanilla ice cream. A drizzle of chocolate sauce can also elevate the dessert’s look and taste.

FAQs About Lava Cake
Lava cake is a beloved dessert, but many people have questions about how to perfect it or make it in advance. Here are some frequently asked questions to help you troubleshoot and get the best results.
1. Can I Make Lava Cake Ahead of Time?
- Yes, you can! Preparing the batter ahead of time can save you stress on the day of serving.
- How to Do It:
- Prepare the batter and pour it into greased ramekins.
- Cover tightly with plastic wrap and refrigerate for up to 24 hours.
- When ready to bake, let the ramekins come to room temperature for about 15 minutes before popping them in the oven.
- Tip: Be mindful that you may need to adjust the baking time slightly, depending on how cold the batter is when you bake it.
2. How Do I Store Leftover Lava Cake?
- Leftover lava cake can be stored in the fridge for up to 2 days. However, the molten center won’t remain gooey after refrigeration, but the cake will still be delicious.
- How to Store:
- Allow the cakes to cool to room temperature.
- Cover each ramekin with plastic wrap or store it in an airtight container.
- Reheating Tip: To reheat, place the cake in the microwave for 15-20 seconds or in the oven at 350°F (175°C) for 5–7 minutes. While the center won’t be molten, the cake will still be soft and enjoyable.
3. What’s the Best Way to Reheat Lava Cake?
- Best Method: The oven is the best way to reheat lava cakes while maintaining their texture.
- How to Do It:
- Preheat the oven to 350°F (175°C).
- Place the cake in the oven for about 5–7 minutes, or until it’s heated through.
- Be sure not to overheat, or you risk cooking the center too much.
- Alternative Method: If you’re in a hurry, you can reheat in the microwave for 15–20 seconds, but the result won’t be quite as perfect as the oven method.
4. Can I Make a Gluten-Free Version of Lava Cake?
- Absolutely! You can make a gluten-free lava cake by substituting the all-purpose flour with gluten-free flour or almond flour.
- Tips for Gluten-Free Lava Cake:
- Use a gluten-free all-purpose flour blend that includes xanthan gum or guar gum to help with structure.
- Be sure to check that the chocolate you’re using is also gluten-free.
- The texture of the cake may be slightly different, but it will still be delicious with the right adjustments.
5. Why is My Lava Cake Not Molten in the Center?
- Common Causes:
- Baking Time: If the cake is overbaked, the molten center will set. Be sure to check the cakes at the 12-minute mark and not to bake them for too long.
- Incorrect Oven Temperature: If the oven is too hot, the cake might cook too quickly on the outside, preventing the center from remaining molten. Make sure your oven is at the correct temperature (425°F or 220°C) using an oven thermometer.
- Size of Ramekins: If your ramekins are too large, the cake might bake too fast and not leave enough time for the center to stay gooey. Consider using smaller ramekins to keep the molten effect.
6. Can I Make Lava Cake in a Muffin Tin?
- Yes, you can! If you don’t have ramekins, you can use a muffin tin to create smaller individual portions.
- How to Do It:
- Grease the muffin tin wells and dust them with cocoa powder.
- Follow the same baking steps, but reduce the baking time to about 8–10 minutes since the smaller cakes will cook faster.
- Tip: Be sure to test with a toothpick to check the doneness, as baking times can vary based on the size of the tin.

With these FAQs, you’ll be well-equipped to make perfect lava cakes every time and troubleshoot any issues. Let me know if you need any more details or assistance!

