Introduction: Perfect Crème Brûlée Recipe
Craving a dessert that’s both elegant and indulgent? Look no further than the Perfect Crème Brûlée Recipe. This classic French treat combines a rich, creamy custard with a crisp, caramelized sugar topping. Whether you’re hosting a dinner party or treating yourself to something special, this step-by-step guide will help you create a flawless crème brûlée every time.
Crème brûlée is one of those desserts that captures the essence of indulgence: a smooth, creamy custard topped with a perfectly caramelized layer of sugar. Often seen as a sophisticated treat in French cuisine, this delightful dessert has earned a place in the hearts of food lovers worldwide. But despite its elegant reputation, making the perfect Crème Brûlée at home is easier than it seems!
In this guide, we’ll walk you through each step to create a perfect crème brûlée recipe, from gathering the simple ingredients to caramelizing the sugar on top. Whether you’re a seasoned baker or a beginner in the kitchen, you’ll find that this dessert can be surprisingly easy to master. The key lies in using the right ingredients—like high-quality vanilla and heavy cream—and in perfecting the cooking and cooling times.
By the end of this guide, you’ll be ready to wow your guests or simply indulge in a little homemade luxury. Get ready to make a delicious Crème Brûlée that’s sure to impress!
This introduction introduces the reader to the dessert, explains the goal of the post, and reassures them that making crème brûlée can be simple and enjoyable. Let me know if you’d like any further adjustments! 😊
What is Crème Brûlée?
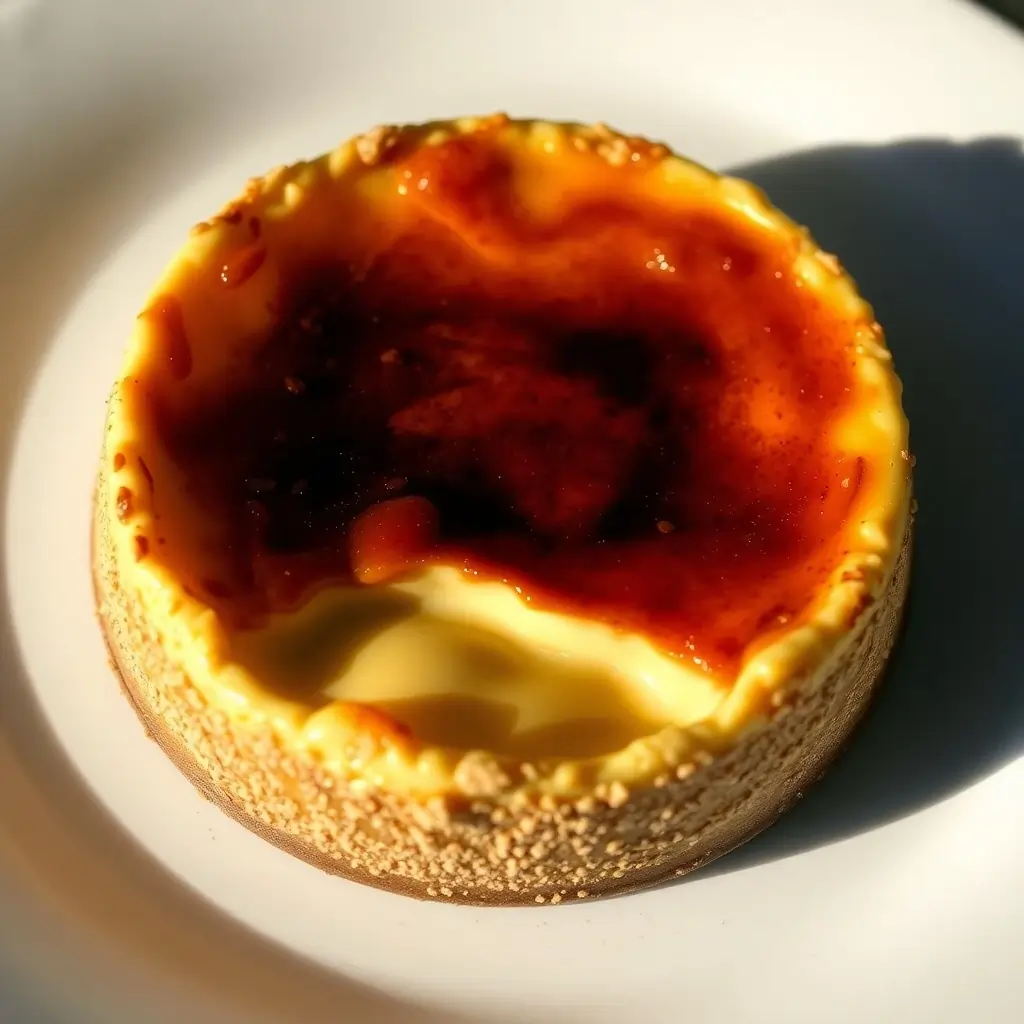
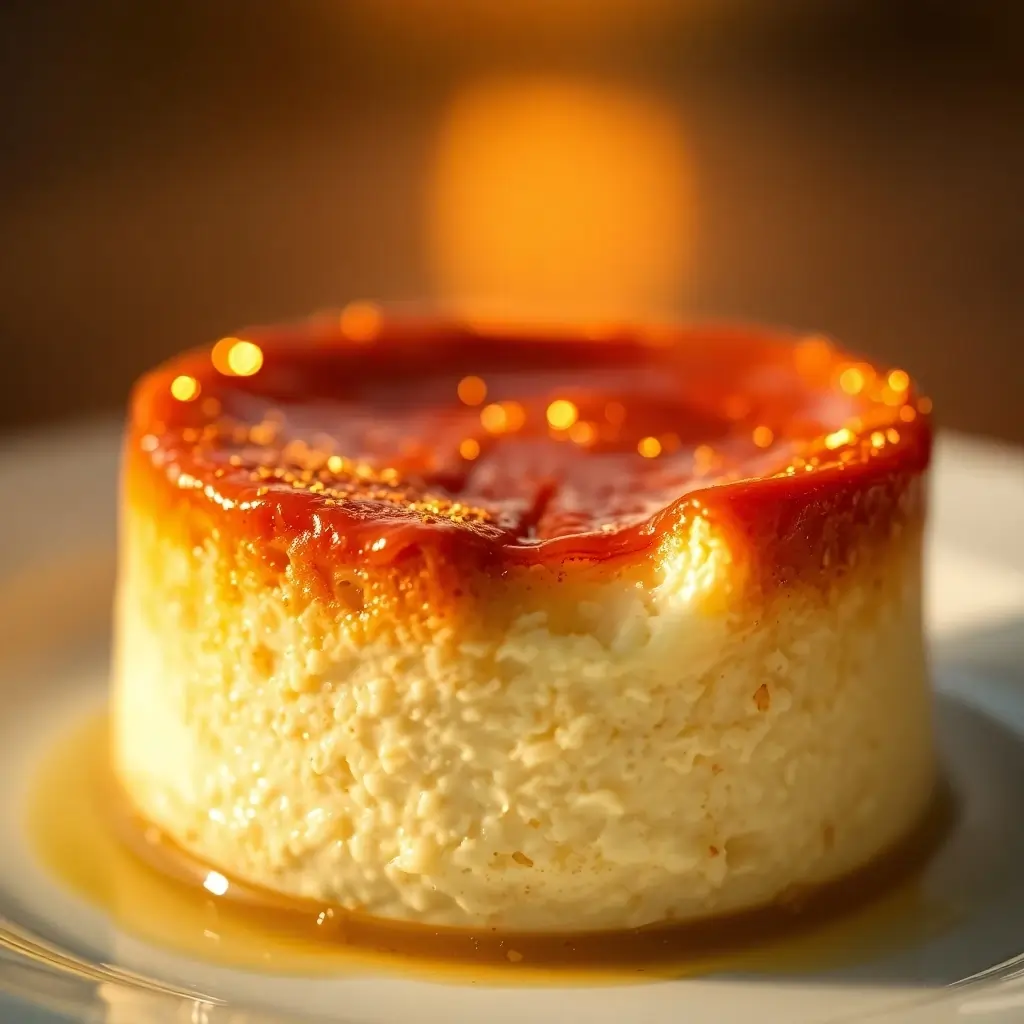
Crème brûlée is a classic French dessert known for its rich, velvety custard base and crispy, caramelized sugar top. The name “crème brûlée” translates to “burnt cream,” which refers to the process of caramelizing the sugar on top. This process gives the dessert its signature golden, crunchy layer, creating a delightful contrast to the smoothness of the custard.
The base of crème brûlée is made from a combination of egg yolks, heavy cream, sugar, and vanilla—with the vanilla providing a fragrant, aromatic quality that sets this dessert apart. The custard is baked at a low temperature in a bain-marie (a water bath) to ensure that it cooks gently, resulting in the creamy texture that makes crème brûlée so irresistible.
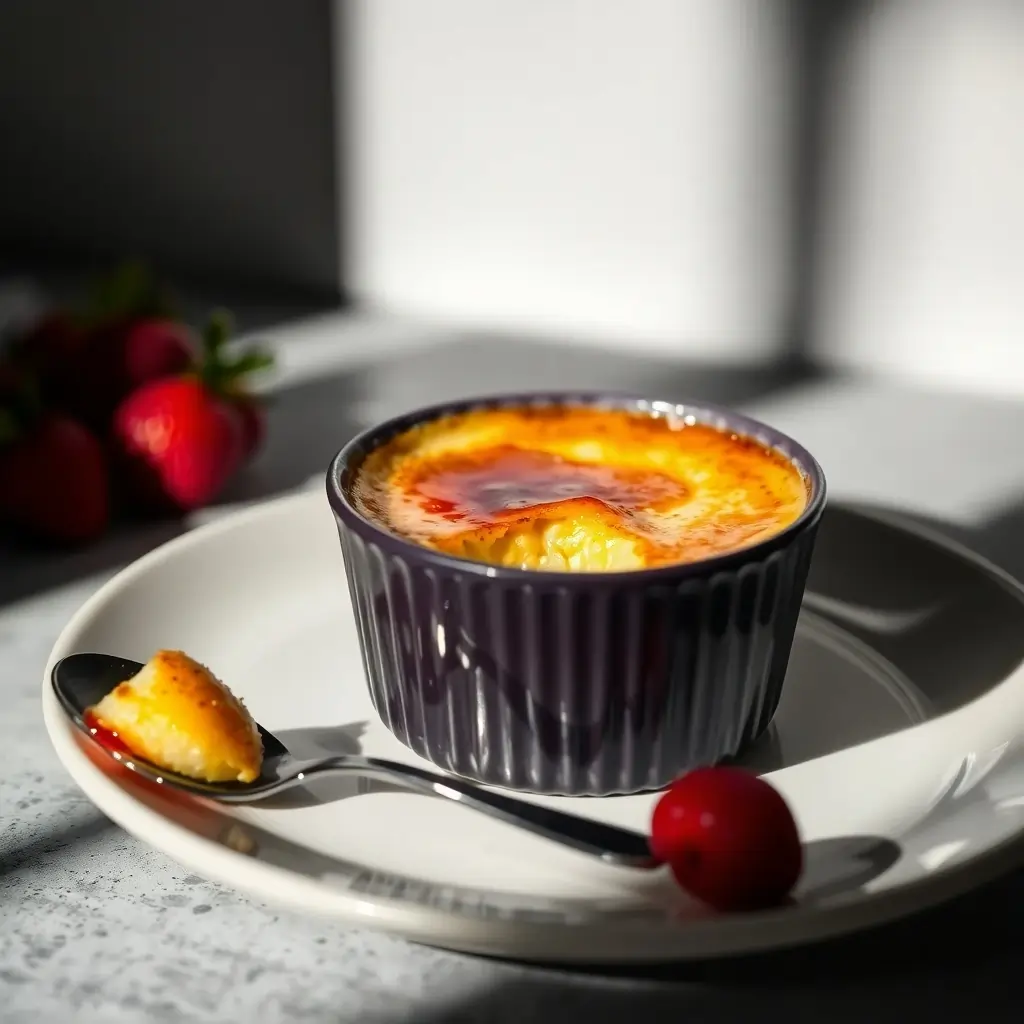
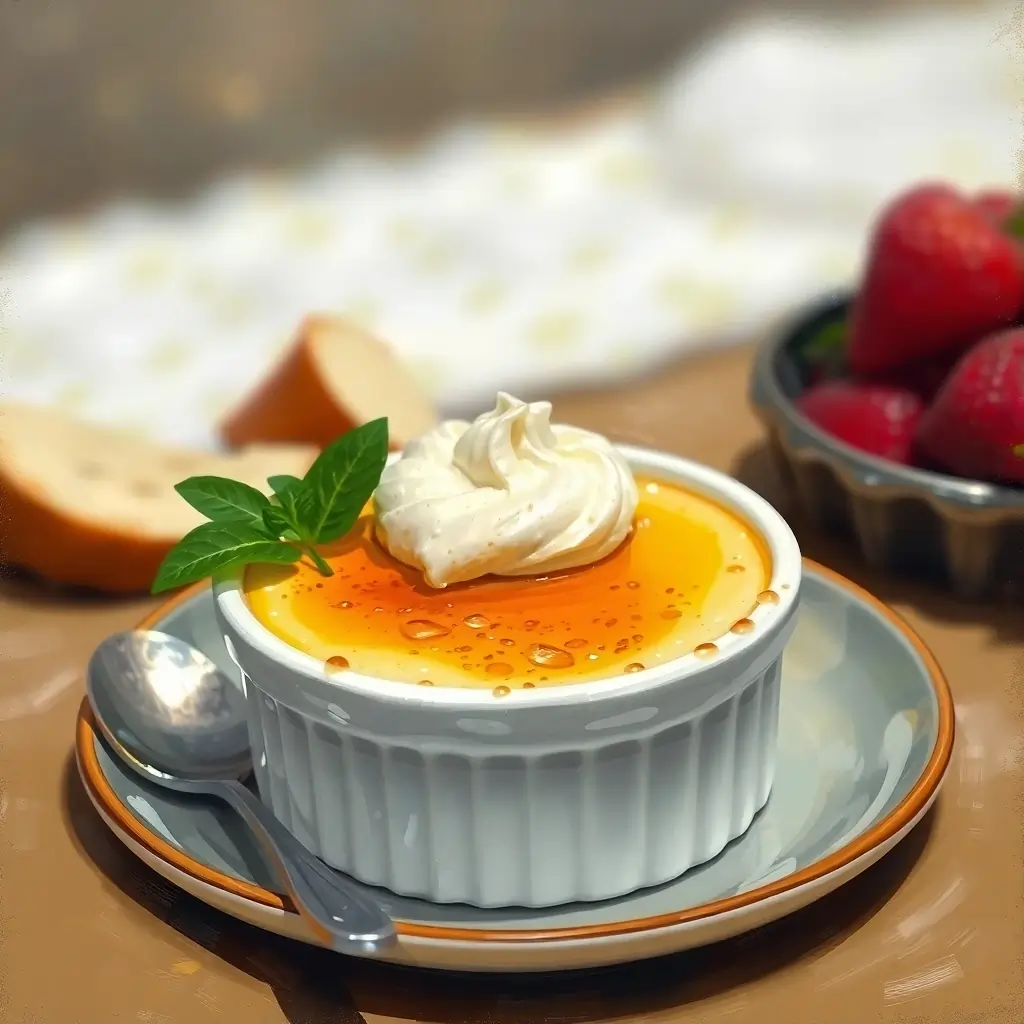
Crème brûlée is typically served in small, individual ramekins, which allow for easy portion control and a beautiful presentation. After baking and cooling, the final touch is the caramelized sugar crust, which is achieved by sprinkling sugar on top of the cooled custard and using a kitchen torch or broiler to melt and brown the sugar.
This dessert is a true crowd-pleaser, often featured on restaurant menus, yet surprisingly simple to prepare at home with just a few key ingredients. Its perfect balance of creamy and crunchy makes it a timeless treat for any occasion.
This section provides an in-depth explanation of what crème brûlée is, highlighting its main ingredients and the process involved in making it. It introduces key terms like “bain-marie” and “ramekins” while setting the stage for the step-by-step recipe later in the blog post. Let me know if you’d like any adjustments! 😊
Ingredients Needed for the Perfect Crème Brûlée
To create the perfect crème brûlée, you need just a handful of quality ingredients that come together to make the rich custard base and the perfectly caramelized sugar topping. Here’s a breakdown of what you’ll need:
1. Heavy Cream
Heavy cream is the key to the luscious, creamy texture of crème brûlée. It provides the richness and smoothness that make the custard so indulgent. Opt for full-fat heavy cream for the best result. The high-fat content helps the custard set while keeping it velvety.
2. Egg Yolks
Egg yolks play a crucial role in giving the crème brûlée its silky texture. They help thicken the custard, creating that perfect consistency that holds together without being too firm. It’s essential to use fresh egg yolks for the best flavor and texture.
3. Sugar
Sugar is used in two ways in crème brûlée: first, in the custard to sweeten it, and second, to create the caramelized top. For the custard, you’ll typically use granulated sugar, which dissolves well and sweetens the custard evenly. To make the crispy sugar crust, superfine sugar works best, as it melts and caramelizes more evenly than regular sugar.
4. Vanilla Bean or Vanilla Extract
The star of any crème brûlée recipe is its vanilla flavor. You can use vanilla bean pods for a more intense, natural flavor, or opt for vanilla extract for convenience. If using a vanilla bean, split the pod open and scrape out the seeds. These seeds are what give the custard its fragrant, aromatic vanilla taste.
5. Salt (Optional)
A tiny pinch of salt can enhance the flavors in your crème brûlée and balance out the sweetness. While it’s optional, it’s a great addition to round out the overall flavor profile of the dessert.
6. Optional Flavor Variations
While the traditional version of crème brûlée is made with vanilla, you can add your own twist by incorporating other flavors such as chocolate, coffee, or citrus. For example, infuse the cream with a bit of orange zest or espresso for a unique take on this classic dessert.
These ingredients are the foundation of the perfect crème brûlée. Each one plays a specific role, from giving the custard its rich texture to creating the caramelized sugar top. Using high-quality ingredients, especially the vanilla, is essential for achieving the most flavorful and creamy result.
Let me know if you’d like to tweak anything or add further details! 😊

Step-by-Step Guide to Making Crème Brûlée
Making the perfect crème brûlée at home may seem intimidating, but with the right steps and a bit of patience, you can create a dessert that rivals any restaurant. Follow this step-by-step guide to achieve a creamy custard base and a beautifully caramelized sugar topping.
1: Prepare the Custard Base
- Preheat your oven to 325°F (160°C). Place your ramekins (small baking dishes) on a baking tray, ready for the water bath.
- In a saucepan, heat the heavy cream over medium heat until it starts to simmer. You don’t want it to boil, just warm enough to release the flavor of the vanilla.
- While the cream is heating, whisk the egg yolks and granulated sugar together in a separate bowl until the mixture becomes pale and slightly thickened. This creates the base of your custard.
- Once the cream is simmering, add the vanilla bean seeds or extract to the cream. If using a vanilla bean, scrape the seeds from the pod and stir them into the cream.
- Slowly pour the hot cream into the egg mixture in a thin stream while continuously whisking to avoid scrambling the eggs. This process, called tempering, helps keep the custard smooth.
- Strain the mixture through a fine mesh sieve to remove any bits of egg or vanilla pod.
2: Bake in a Bain-Marie (Water Bath)
- Fill the ramekins with the custard mixture, making sure they are evenly distributed.
- Prepare the water bath by carefully pouring hot water into the baking tray until it reaches halfway up the sides of the ramekins. This ensures even cooking and prevents the custard from cracking or curdling.
- Bake in the preheated oven for 40-45 minutes, or until the custard is set but still slightly jiggly in the center. It should be firm around the edges but soft in the middle.
- Once done, remove the ramekins from the water bath and allow them to cool at room temperature. Then, transfer them to the fridge to chill for at least 2 hours (or up to 24 hours). Chilling helps the custard firm up and enhances the flavor.
3: Caramelize the Sugar
- After the custard has chilled, it’s time for the caramelized sugar topping. Sprinkle a thin, even layer of superfine sugar over the top of each ramekin.
- Use a kitchen torch to melt and caramelize the sugar. Hold the torch about 2-3 inches away from the surface and move it in a circular motion until the sugar turns golden and bubbly. Be careful not to burn the sugar.
- If you don’t have a kitchen torch, you can use a broiler. Place the ramekins under the broiler for 1-2 minutes, watching closely, until the sugar melts and forms a crispy golden layer.
4: Serve and Enjoy
- Let the caramelized sugar cool and harden for a few minutes before serving.
- Break the sugar crust with a spoon to reveal the creamy custard beneath, and enjoy the perfect balance of textures!
This step-by-step guide ensures you get a perfect crème brûlée with a silky custard base and a perfectly crisp sugar top. The key to success lies in careful attention to temperature and timing, as well as patience during the cooling and caramelizing processes. By following these steps, you’ll be able to impress your guests or indulge in a luxurious homemade dessert.
Let me know if you need any further clarifications or details! 😊
Tips for Perfecting Your Crème Brûlée
Creating the perfect crème brûlée takes a bit of finesse, but with these expert tips, you’ll be able to perfect your technique and ensure your dessert turns out flawless every time. Whether you’re a beginner or a seasoned baker, these tips will help you achieve that silky custard and perfectly crisp caramelized sugar top.
1. Use Fresh Ingredients
For the best flavor and texture, always use fresh ingredients:
- Opt for high-quality vanilla beans or pure vanilla extract for the most aromatic and flavorful custard.
- Fresh egg yolks provide a richer, creamier texture than older eggs.
- Use full-fat heavy cream instead of lighter options for the richest and most indulgent custard.
2. Be Careful When Tempering the Eggs
Tempering is a crucial step in preventing the eggs from curdling. Slowly pour the hot cream into the egg yolk mixture while whisking continuously. This gradual process ensures the eggs warm up without scrambling. If you add the cream too quickly, the eggs will cook, resulting in an undesirable texture.
3. Use a Water Bath (Bain-Marie)
The water bath helps maintain even heat, preventing the custard from cooking too quickly and becoming lumpy. Ensure that the water level reaches halfway up the sides of the ramekins, and always use hot water to make sure the cooking temperature is consistent. If you don’t use a water bath, the custard may cook unevenly, leading to cracks or curdling.
4. Don’t Overbake
Overbaking crème brûlée will cause it to become rubbery or curdled. The custard is done when it shakes slightly in the center but is firm around the edges. To test it, gently shake the ramekin; the custard should move like a jelly. Remember, it will continue to set as it cools, so underbaking slightly is better than overbaking.
5. Chill the Custard for the Right Amount of Time
Let the crème brûlée cool completely at room temperature before transferring it to the fridge. Chill it for at least 2 hours (or up to 24 hours) to allow the custard to fully set. Chilling helps deepen the flavors and ensures that the texture is smooth and creamy.
6. Caramelize the Sugar Properly
The sugar topping is what gives crème brûlée its signature crunch and golden color. Here are a few tips for caramelizing the sugar:
- Use superfine sugar for the best results. It melts and caramelizes more evenly than regular granulated sugar.
- If using a kitchen torch, keep it about 2-3 inches away from the sugar and move it in a slow, circular motion. Be careful not to burn the sugar, which can give it a bitter taste.
- If using the broiler, keep a close eye on the sugar as it can burn quickly. Broil for 1-2 minutes, until the sugar is golden and bubbly.
7. Avoid Cracks in the Custard
Cracks in the custard can happen if the temperature is too high or if the custard is overbaked. If you’re having trouble with cracks, try lowering the oven temperature slightly or using a slightly larger baking dish to help distribute heat more evenly.
8. Experiment with Flavor Variations
Once you’ve mastered the classic vanilla version, feel free to get creative with other flavors. For example, infuse the cream with flavors like chocolate, coffee, or citrus. You can also try adding a small amount of almond extract or coconut for a twist. Just remember that strong flavors should be added sparingly so they don’t overpower the delicate custard.
By following these tips, you’ll be able to create a crème brûlée that’s creamy, velvety, and beautifully caramelized. The key is to focus on the details, from using the best ingredients to paying attention to temperature and timing. With a little practice and patience, you’ll soon be making perfect crème brûlée every time!
Let me know if you’d like to expand on any of these tips! 😊

FAQs About Crème Brûlée
Crème brûlée is a beloved dessert, but as with any classic, there are often questions about its preparation. Here are the answers to some of the most frequently asked questions about making this luxurious treat.
1. Can I make crème brûlée in advance?
Yes, crème brûlée can be made a day or two ahead of time. In fact, chilling it overnight allows the flavors to deepen and the custard to set more firmly. Simply follow the recipe, allow the custard to cool, and then refrigerate it in the ramekins. You can caramelize the sugar just before serving for that perfect crunch.
2. What is the best way to store crème brûlée?
Store un-torched crème brûlée in the refrigerator for up to 3 days. Be sure to cover it with plastic wrap or store it in an airtight container to keep it fresh. Once you’ve caramelized the sugar, it’s best to serve it immediately since the sugar crust can soften over time.
3. Can I make crème brûlée without a kitchen torch?
Absolutely! If you don’t have a kitchen torch, you can use your oven’s broiler to caramelize the sugar. Just place the ramekins under the broiler for 1-2 minutes, watching carefully, until the sugar melts and turns golden. Be sure to monitor closely, as the sugar can burn quickly.
4. What can I use instead of vanilla beans?
While vanilla beans give crème brûlée a rich, aromatic flavor, you can substitute pure vanilla extract if you prefer. Use 1 tablespoon of vanilla extract in place of 1 vanilla bean. For a more intense vanilla flavor, you can even add a splash of vanilla bean paste.
5. Why is my crème brûlée watery or curdled?
A watery or curdled crème brûlée is usually the result of either overbaking or too high of a temperature. To avoid this, make sure to bake the custard at a low temperature and check for doneness by shaking the ramekin gently. The custard should be slightly wobbly in the center but firm around the edges. A water bath is also essential to prevent the custard from cooking too quickly.
6. Can I make flavored crème brûlée?
Yes! Crème brûlée is highly versatile. You can infuse the cream with a variety of flavors such as chocolate, coffee, citrus, or herbs like lavender. Simply heat the cream with your chosen flavoring (e.g., orange zest, coffee beans) and then strain it before mixing it with the egg yolks. Be sure to keep the flavors balanced, as crème brûlée’s delicate custard base should shine through.
7. Can I use a different type of sugar for the caramelized top?
While superfine sugar is the best choice for caramelizing, you can experiment with other sugars, such as demerara or turbinado sugar. These sugars will add a slight caramelized flavor, but the texture might differ slightly from regular superfine sugar. Avoid using powdered sugar, as it won’t caramelize properly.
8. Why does the sugar top crack?
The caramelized sugar crust is meant to crack when you tap it with a spoon. This is part of the appeal of crème brûlée! However, if you notice the sugar isn’t cracking properly, it may be due to too thick a layer of sugar or the sugar not being fully caramelized. Ensure you spread an even, thin layer and apply heat evenly when caramelizing.
9. Can I use a different dish for baking crème brûlée?
While ramekins are traditionally used for crème brûlée because they allow the custard to bake evenly, you can use any small, oven-safe dish. Just ensure that the baking dish is shallow enough to allow the custard to cook evenly and is large enough to hold the custard mixture without overflowing.
10. Is crème brûlée gluten-free?
Yes! Crème brûlée is naturally gluten-free. The dessert contains no flour, so it’s a safe option for those with gluten sensitivities. Just make sure that the ingredients you use, such as the vanilla extract or sugar, are gluten-free as well.
These FAQs address some of the most common concerns and curiosities people have about making crème brûlée. By following these tips and answers, you’ll have an even better understanding of how to make this classic dessert and avoid common pitfalls.
Feel free to ask if you have more questions or need additional details! 😊
Conclusion: Master the Art of Perfect Crème Brûlée Recipe
Making the perfect crème brûlée is a rewarding experience, and with the right knowledge and a little patience, you can easily master this classic French dessert. Whether you’re impressing guests at a dinner party or treating yourself to something sweet, this indulgent custard with its crisp, caramelized sugar top is sure to delight.
By following the step-by-step instructions, using fresh, high-quality ingredients, and taking your time to perfect the technique, you can achieve a crème brûlée that is smooth, creamy, and beautifully golden. The tips provided will help you troubleshoot any issues that arise, ensuring that every batch turns out just as you envisioned.
Remember, practice makes perfect, and don’t be afraid to experiment with different flavors to make your crème brûlée unique. From traditional vanilla to decadent chocolate or even exotic infusions like lavender or citrus, the possibilities are endless.

So, gather your ingredients, heat your oven, and start your journey to mastering the art of crème brûlée. Once you’ve made this dessert a few times, you’ll feel like a pastry chef in your kitchen, impressing everyone with your culinary skills.
Enjoy the process, and, of course, savor every spoonful of your homemade crème brûlée. Bon appétit!
This conclusion wraps up the process and encourages the reader to feel confident in their ability to create crème brûlée. If you need to refine or adjust anything, feel free to let me know! 😊

