Dirt cake is one of those classic, no-bake desserts that everyone loves, from kids to adults. Not only is it fun to eat, but its creamy layers, crunchy toppings, and fun presentation make it an instant hit at gatherings, birthday parties, and family get-togethers. The best part? It’s incredibly easy to make with ingredients you probably already have. In this in-depth article, we’ll guide you step-by-step through making an irresistible dirt cake, offering practical tips, variations, and ideas for customizing it for any occasion.
Whether you’re making it for the first time or perfecting your recipe, this guide is your go-to resource for making the ultimate dirt cake.
Table of Contents
1. What is Dirt Cake?
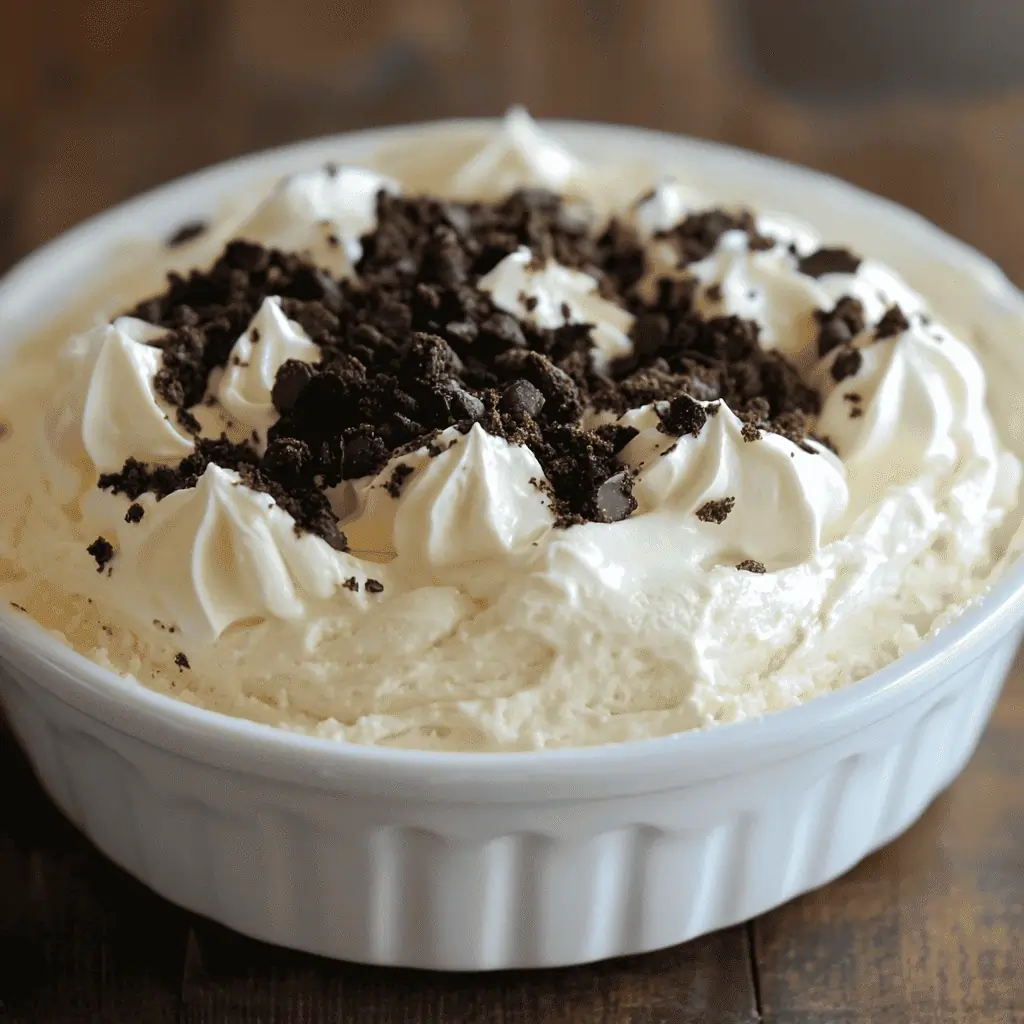
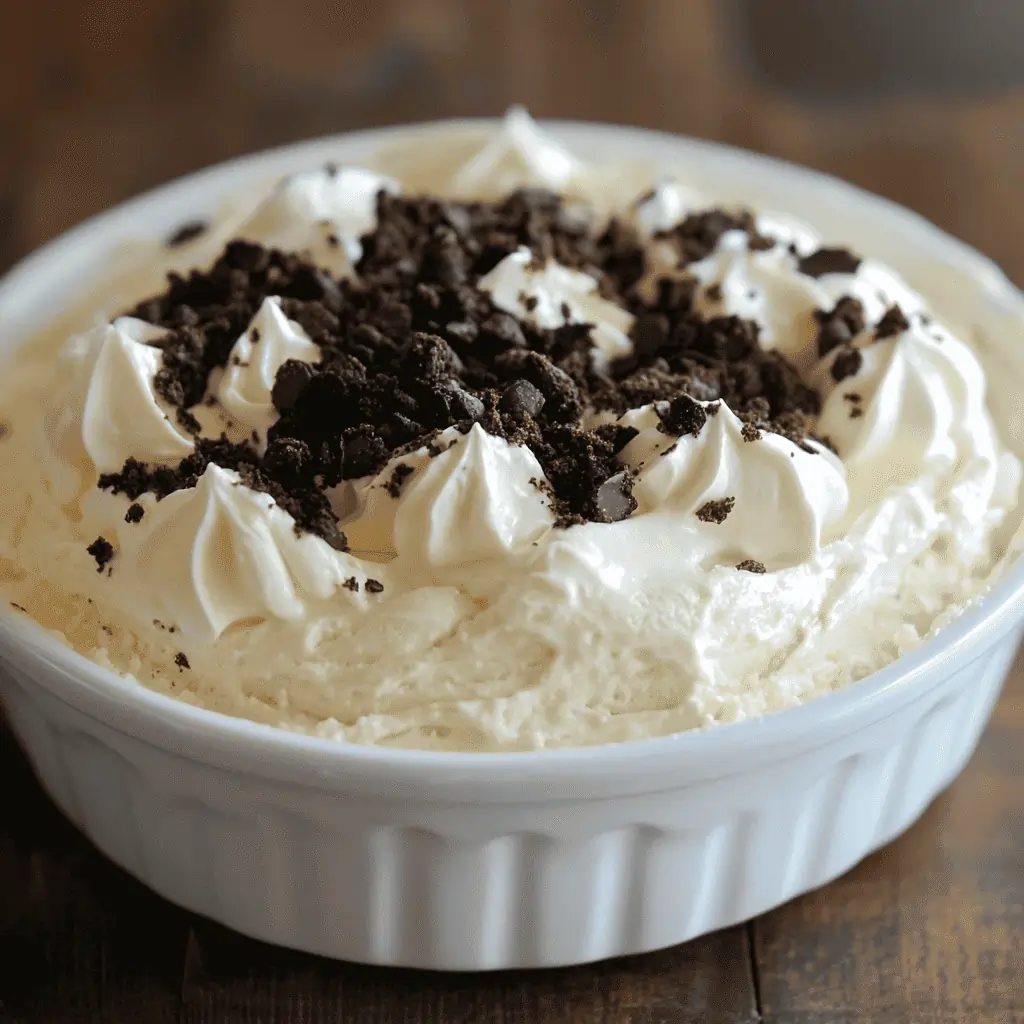
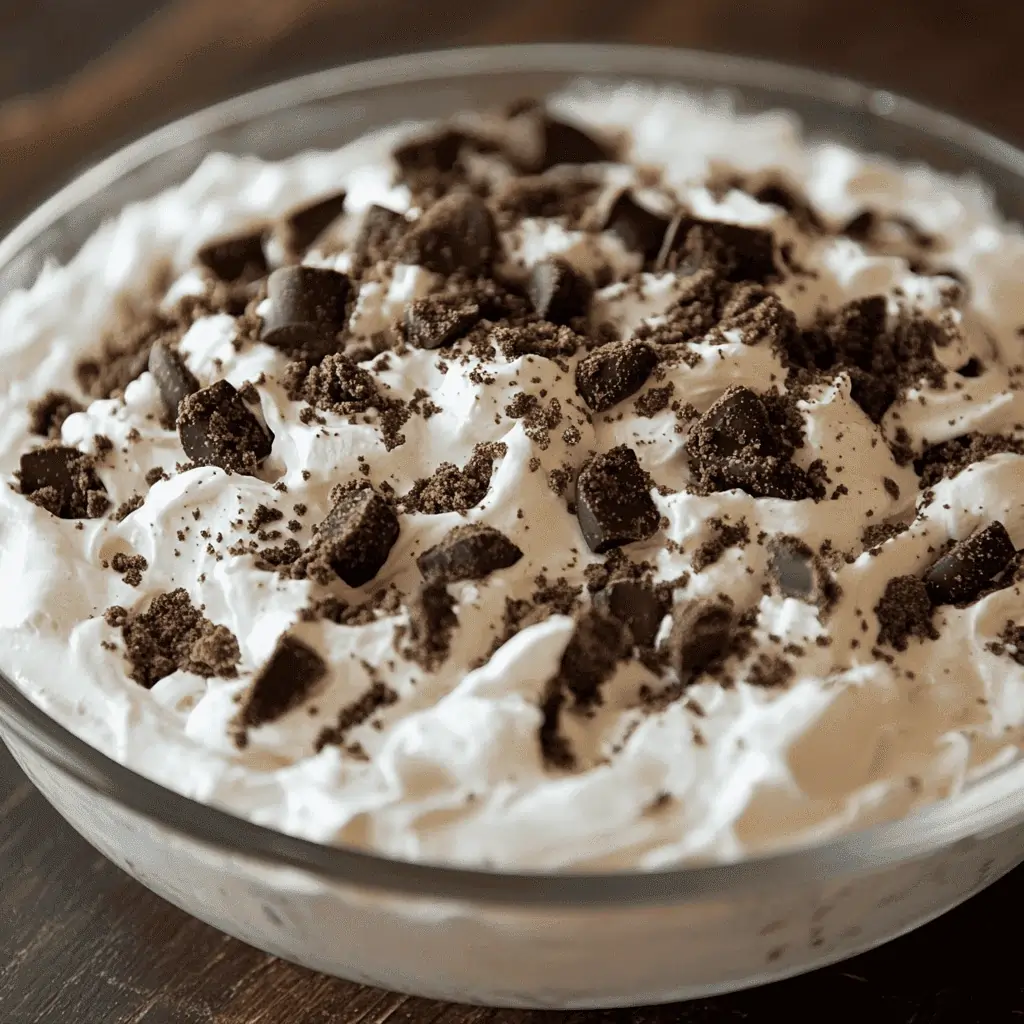
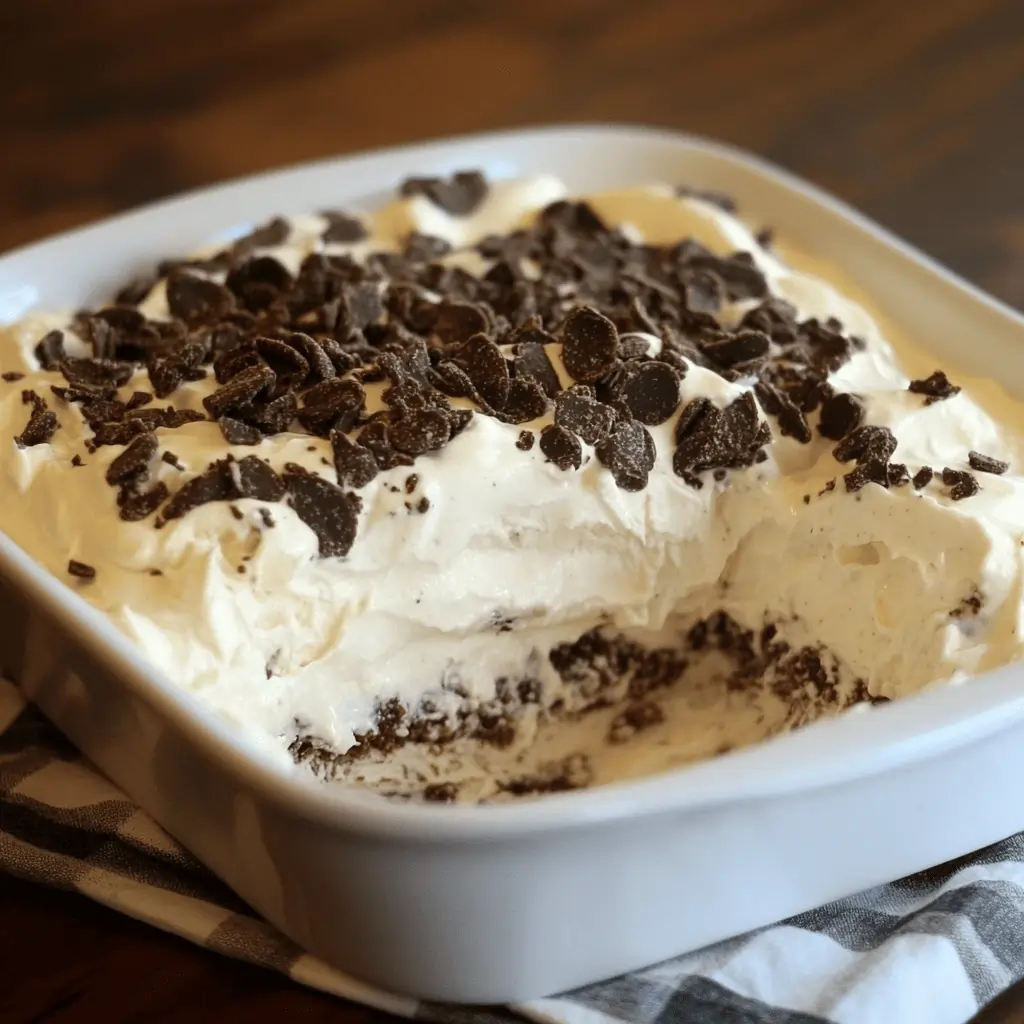
Dirt cake is a no-bake dessert typically made from a creamy filling of pudding, cream cheese, and whipped topping, layered with crushed chocolate cookies that resemble “dirt.” It’s often topped with gummy worms for a playful touch, making it a favorite for children’s birthday parties or themed events. Despite its simple presentation, dirt cake is deliciously indulgent, offering a perfect combination of creamy, crunchy, and chocolatey flavors.
Dirt cake’s versatility makes it unique—you can present it in fun containers like flower pots, mason jars, or even a large trifle dish. It’s a dessert that’s easy to make ahead of time and allows for endless customization, from the flavor of the pudding to the toppings.
2. Essential Ingredients for Dirt Cake
The beauty of dirt cake lies in its simplicity. You don’t need many ingredients, but choosing the right ones is crucial for achieving the perfect texture and flavor. Here’s a breakdown of the essential ingredients for a classic dirt cake recipe:
1. Chocolate Sandwich Cookies (Oreos)
- Why They’re Important: The crushed cookies serve as the “dirt” in your cake. Oreos are the traditional choice because they offer a perfect balance of chocolate flavor and crunch.
- Tip: You can use regular Oreos, but feel free to experiment with different flavors like mint or golden Oreos for a twist on the classic recipe.

2. Instant Pudding Mix
- Why It’s Important: The pudding forms the creamy base of the filling. Vanilla is the most common choice, but you can also use chocolate, cheesecake, or even butterscotch for a different flavor profile.
- Tip: Use instant pudding mix rather than cook-and-serve, as it sets faster and ensures a smooth, creamy texture.
3. Cream Cheese
- Why It’s Important: Cream cheese adds richness and thickness to the filling, giving the dessert its luxurious, creamy consistency.
- Tip: Soften the cream cheese before mixing to avoid lumps in the filling.
4. Whipped Topping (Cool Whip)
- Why It’s Important: Cool Whip helps lighten the texture of the cream cheese and pudding mixture, creating a fluffy, mousse-like consistency.
- Tip: If you prefer, you can use homemade whipped cream instead of Cool Whip.
5. Butter
- Why It’s Important: Butter is sometimes added to the crushed cookies to help them hold together slightly, especially if you’re using the cookie crumbs to create a crust.
- Tip: If you want a lighter texture for the “dirt,” you can omit the butter and simply sprinkle the cookies in layers.
6. Milk
- Why It’s Important: Milk is essential for preparing the instant pudding mix. Whole milk gives the best results for a creamier texture.
- Tip: For a lower-fat version, you can use 2% or skim milk, but keep in mind that it may result in a slightly thinner consistency.
7. Gummy Worms (Optional)
- Why They’re Important: Gummy worms add a fun, playful element to the dirt cake and are a hit with kids.
- Tip: You can also use other toppings like chocolate rocks, sprinkles, or candy flowers for decoration.
3. Step-by-Step Guide to Making Dirt Cake
1. Making the Creamy Filling
Start by preparing the filling, which is the heart of the dirt cake. Here’s how to get the perfect consistency:
Ingredients:
- 1 package (8 oz) of cream cheese, softened
- 1 package (3.4 oz) instant vanilla pudding mix
- 3 cups of milk
- 1 container (8 oz) of whipped topping (Cool Whip)
Instructions:
- Prepare the Pudding: In a large bowl, whisk the instant pudding mix with 3 cups of cold milk. Whisk for about 2 minutes, until it thickens. Let it sit for 5 minutes to set.
- Beat the Cream Cheese: In a separate bowl, beat the softened cream cheese until smooth and creamy. If you’re using butter, you can add 2 tablespoons at this stage to enhance the creaminess.
- Combine the Filling: Slowly fold the cream cheese into the prepared pudding. Once fully combined, gently fold in the whipped topping to create a light and fluffy mixture.
- Tip: Make sure the cream cheese is softened before you start. Cold cream cheese can leave lumps in the mixture, affecting the texture.
2. Prepping the Cookie Crust
While the filling is set, it’s time to create the “dirt” layers. The crushed cookies serve as both the crust and topping for your dirt cake.
Instructions:
- Crush the Cookies: Using a food processor or a zip-top bag and rolling pin, crush 1 package (14-16 oz) of chocolate sandwich cookies until they resemble fine crumbs.
- Optional: For a firmer “crust” at the bottom, mix 2 cups of cookie crumbs with 2 tablespoons of melted butter and press it into the bottom of your dish.
- Tip: Leave some chunks in the cookie crumbs for texture variation, or crush them finely if you prefer a smoother “dirt” layer.
3. Layering and Assembling the Cake
Now that you have the filling and cookie crumbs ready, it’s time to layer and assemble the dirt cake.
Instructions:
- Start with a Layer of Cookies: Spread a thin layer of crushed cookies at the bottom of your serving dish or trifle bowl.
- Add the Filling: Spoon a layer of the pudding-cream cheese mixture over the cookie crumbs, spreading it evenly.
- Repeat the Layers: Continue alternating layers of cookies and filling until you’ve used up all the ingredients, finishing with a generous layer of cookie crumbs on top.
- Add Gummy Worms: If you’re using gummy worms, tuck them into the top layer of “dirt” so that they look like they’re crawling out of the ground.
- Tip: If you’re making individual servings in cups or jars, adjust the layers accordingly, making sure to start and finish with the cookie crumbs.

4. Creative Variations and Customization Ideas
One of the great things about dirt cake is how easily it can be customized to suit different tastes, themes, or dietary needs. Here are some creative variations to try:
1. Chocolate Lovers’ Dirt Cake
- Use chocolate pudding instead of vanilla, and add chocolate chips or chocolate shavings between the layers for extra decadence.
2. Halloween-Themed Dirt Cake
- Create a spooky version by adding candy eyes, plastic spiders, and orange sprinkles. The dirt cake can be served in a cauldron or small plastic pots for an extra fun presentation.
3. Healthier Dirt Cake
- For a lighter version, use reduced-fat cream cheese, sugar-free pudding, and light whipped topping. You can also substitute some or all of the Oreos with crushed graham crackers or a mix of ground nuts and oats.
4. Peanut Butter Dirt Cake
- Add ½ cup of creamy peanut butter to the cream cheese mixture for a peanut butter twist. Top the cake with crushed Reese’s Pieces or peanut butter cups.
5. Common Mistakes and How to Avoid Them
While dirt cake is relatively simple to make, there are a few common mistakes that can affect the final result. Here’s how to avoid them:
1. Lumpy Filling
- If your cream cheese is too cold, it won’t blend smoothly into the pudding, resulting in a lumpy filling. Always soften your cream cheese at room temperature before mixing.
2. Too Runny
- Using too much milk in the pudding mix or not allowing the pudding to set properly can lead to a runny cake. Stick to the recommended amount of milk and let the pudding sit for at least 5 minutes before mixing.
3. Crumbs Not Crunchy
- If your crushed cookies become soggy, it can take away from the delightful contrast in texture between the creamy filling and the crunchy “dirt.” To avoid this, don’t layer the cake too far in advance. For best results, assemble the cake close to serving time, or store the cookie crumbs separately until you’re ready to assemble.
4. Too Sweet
- Sometimes dirt cake can end up overly sweet, especially when using sweetened whipped topping and cookies. To balance the sweetness, you can reduce the amount of sugar in the pudding mix or use unsweetened whipped cream instead of Cool Whip. Additionally, using cream cheese adds a tangy richness that helps offset the sweetness.
5. Overmixed Layers
- Avoid overmixing the filling ingredients, especially after adding the whipped topping, as it can lose its fluffiness. Gently fold in the whipped topping to keep the mixture light and airy.
6. Real-Life Examples and Success Stories
Dirt cake has become a popular choice for many celebrations due to its simplicity and universal appeal. Here are some real-life examples of how people have successfully made this cake for various occasions:
Case Study 1: Kelly’s Kid-Friendly Birthday Bash
- Kelly wanted to create a fun and easy dessert for her son’s dinosaur-themed birthday party. She made individual dirt cakes in small terracotta flower pots, adding gummy worms and tiny plastic dinosaurs on top. The kids loved “digging” into their desserts, and Kelly was able to prepare everything the night before, making the party stress-free.
Case Study 2: Sarah’s Halloween Potluck Hit
- For a Halloween potluck, Sarah decided to make a spooky version of dirt cake. She used chocolate pudding, and Oreo crumbs, and added edible candy eyes and gummy spiders to the top layer. She even made tombstone-shaped cookies to stick into the “dirt,” giving it a graveyard look. The cake was a huge hit at the party, and everyone asked for the recipe!
Case Study 3: Jeff’s Health-Conscious Office Treat
- Jeff wanted to bring something sweet to his office potluck but wanted a lighter option. He used sugar-free pudding mix, and low-fat cream cheese, and substituted half the cookie layer with crushed almonds and oats for a healthier crunch. His colleagues appreciated the thoughtful twist, and it became a requested recipe for future events.
7. Frequently Asked Questions About Dirt Cake
Q: How far in advance can I make dirt cake?
You can make dirt cake up to a day in advance. To maintain the crunchy texture of the cookie crumbs, assemble the cake just before serving or store the cookie layer separately and add it right before serving. If you assemble it early, keep it refrigerated and covered with plastic wrap.
Q: Can I make a gluten-free version of dirt cake?
Absolutely! To make a gluten-free dirt cake, simply use gluten-free chocolate sandwich cookies in place of regular Oreos. Most other ingredients, like pudding, cream cheese, and whipped topping, are naturally gluten-free, but always double-check labels to be sure.
Q: Can I make dirt cake dairy-free?
Yes! You can make a dairy-free version by using dairy-free cream cheese, plant-based milk (such as almond or oat milk), and a dairy-free whipped topping like coconut cream. Be sure to use a pudding mix that doesn’t contain dairy, or make your own homemade dairy-free pudding.
Q: What’s the best way to store leftover dirt cake?
Store any leftover dirt cake in the refrigerator, tightly covered with plastic wrap, or in an airtight container. It will keep for 3-4 days, though the cookie crumbs may soften over time. For a fresher texture, try to consume the cake within a day or two of making it.
Q: Can I freeze dirt cake?
While you technically can freeze dirt cake, the texture of the cookies may not hold up well after thawing, becoming soggy. If you must freeze it, do so before adding the cookie layer and freeze the creamy mixture separately. Add fresh cookie crumbs once the cake is thawed and ready to serve.
8. Conclusion: Make Dirt Cake Your Next Party Hit
Dirt cake is a timeless, no-bake dessert that’s simple to make yet packed with delicious flavor and texture. With its creamy layers and crunchy “dirt” topping, it’s always a crowd-pleaser at parties, potlucks, and family gatherings. The versatility of dirt cake allows you to customize it for any occasion, whether celebrating a birthday, hosting a holiday party, or just looking for a fun weekend treat.

Action Step: Make Dirt Cake Today!
Next time you’re looking for an easy and fun dessert, try making your dirt cake. Gather your favorite ingredients, and don’t be afraid to experiment with different flavors and toppings. Share your dirt cake creations with friends and family, and watch as this simple dessert becomes an instant favorite. Whether served in a trifle dish, individual cups, or flower pots, dirt cake is guaranteed to make an impression!
With this guide, you can create the perfect dirt cake for any event. From understanding the essential ingredients to exploring creative variations, you’ll have no trouble impressing your guests with this beloved dessert. Ready to start? Gather your ingredients and enjoy the fun of making your homemade dirt cake today!

