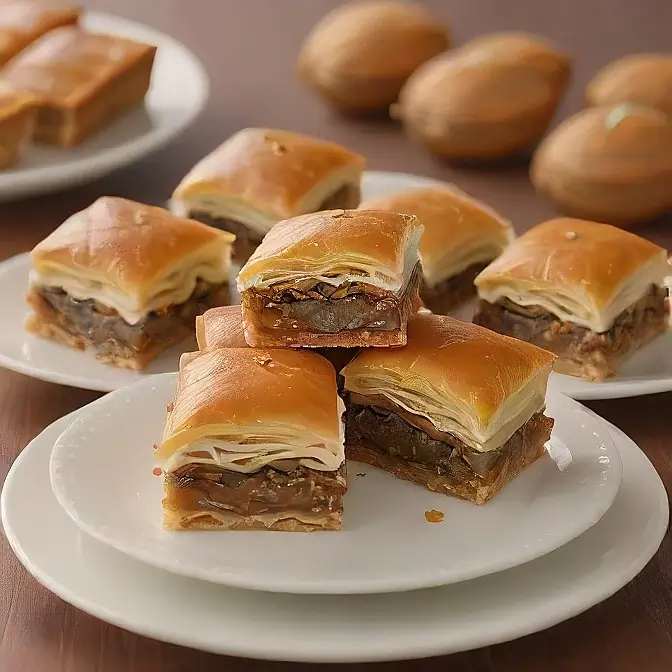
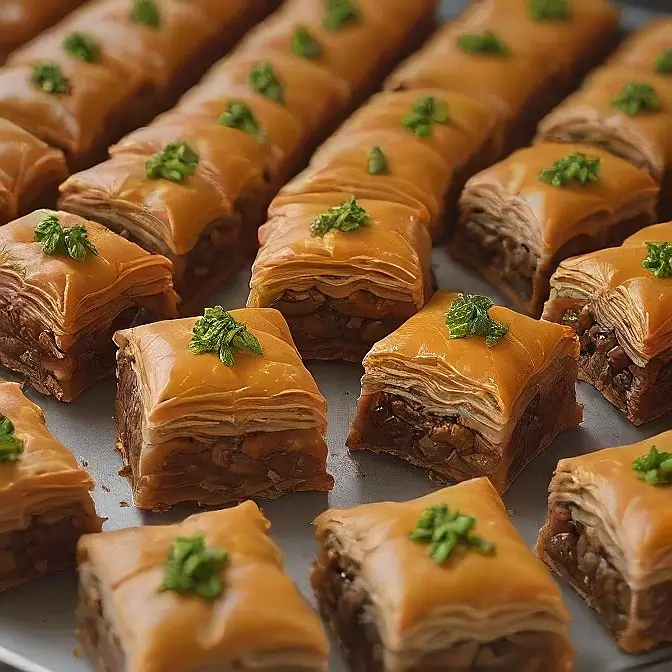
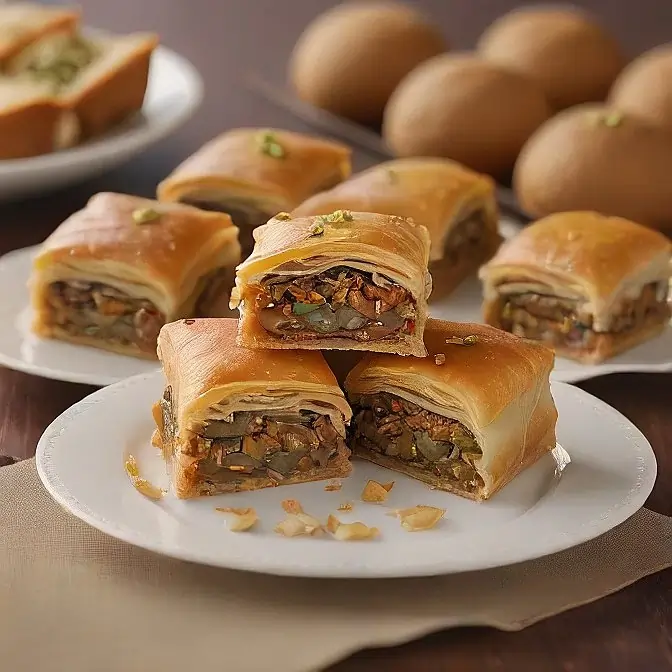
Baklava is one of the most iconic and beloved desserts in the world. With its flaky layers of filo pastry, rich nutty filling, and syrupy sweetness, it’s a treat that transcends cultures and brings joy to anyone who takes a bite. This traditional dessert has roots in the Middle East, the Mediterranean, and even parts of the Balkans. While there are countless variations, the essentials remain the same: a combination of layers of filo dough, nuts, butter, and syrup, all baked to golden perfection.
In this in-depth guide, we’ll walk you through making baklava from scratch, share valuable tips and techniques, and give real-life examples to help you master this famous sweet treat. Whether you’re a first-time baker or an experienced pastry chef, this article will provide all the information you need to perfect your baklava recipe.
Table of Contents
What is Baklava?
Baklava is a rich, sweet dessert made from filo dough (phyllo dough) layered with chopped nuts, butter, and sugar. Once baked, it is soaked in sugar, water, and honey or rosewater syrup. The result is a sticky, sweet, and crunchy treat enjoyed worldwide.
Originating in the Middle East, the dessert is now a staple in many regions, including Turkey, Greece, Lebanon, and beyond. Its name is believed to come from the Turkish word “baklava,” which means “to roll up,” referring to the way the layers of filo dough are rolled around the nut filling.
Ingredients You Need for Baklava
Filo Dough
Filo dough is the foundation of baklava, and using the right kind is essential to get the perfect texture. It’s fragile dough, usually found in frozen sheets, and it can be found at most grocery stores or specialty food shops. You can also make filo dough from scratch, but it’s time-consuming and requires some skill.
- Tip: If you’re using store-bought filo dough, thaw it overnight in the refrigerator before using it. Cover the dough with a damp towel while working to prevent it from drying out.
Nuts
The type of nuts you use in baklava can vary depending on the region, but the most common choices are:
- Pistachios: Pistachios are commonly used in Turkish baklava, which gives the dessert a rich, creamy flavor and vibrant green color.
- Walnuts: These are often used in Greek baklava and provide a slightly earthy flavor and crunch.
- Almonds: Some regions use almonds for baklava, and they lend a milder flavor that complements the sweetness of the syrup.
- Mixed Nuts: A combination of pistachios, walnuts, and almonds creates a balanced flavor profile and texture.
Butter
Butter is crucial in giving baklava its rich flavor and golden color. Unsalted butter is also essential in controlling the salt level in the recipe.
- Tip: You can melt the butter and brush it onto the filo dough layers or clarify the butter (remove the milk solids) for a more refined, nutty flavor.
Sugar
Sugar is the sweetener that balances the nutty filling and the filo layers. It’s typically mixed into the nut filling and used to make the syrup that soaks the baklava after baking.
- Tip: Add a tablespoon of rosewater or orange blossom water to the syrup for extra flavor. This gives baklava a floral note that is common in Middle Eastern versions.
Syrup
Baklava syrup is the key to making the dessert sweet and sticky. It gives baklava its signature sweetness and helps it maintain its soft texture after baking.
- Ingredients for Syrup:
- Sugar
- Water
- Honey (optional for added sweetness and flavor)
- Lemon juice (helps balance the sweetness)
- Rosewater or orange blossom water (optional)
- Tip: Allow the syrup to cool before pouring it over the hot baklava. This helps ensure the syrup is absorbed properly into the layers.

Step-by-Step Guide to Making Baklava
Making baklava is a multi-step process that requires patience, but the result is worth the effort. Here’s a step-by-step guide to help you along the way.
1: Preparing the Nut Filling
- Choose Your Nuts: Start by selecting your nuts. If you’re using pistachios, walnuts, or almonds, make sure they are finely chopped. You can use a food processor to simplify the job but don’t over-process them into a paste.
- Mix the Nuts: In a large bowl, mix the chopped nuts with a bit of sugar and ground cinnamon. The cinnamon adds warmth and depth to the filling, while the sugar helps to bring out the nuts’ natural sweetness.
- Tip: To make the baklava more aromatic, add a pinch of ground cardamom to the nut mixture.
2: Preparing the Filo Dough
- Thaw the Filo Dough: If you’re using frozen filo dough, ensure it’s fully thawed before use. Lay it flat and cover it with a damp towel to prevent it from drying out.
- Butter the Filo Sheets: Place one sheet of filo dough onto a clean surface and brush it lightly with melted butter. Repeat this process, layering 6 to 8 sheets of filo dough and buttering each sheet generously.
- Tip: Don’t worry if the filo sheets tear slightly; this is common. Just layer more sheets to build up the structure.
3: Assembling the Baklava
- Layer the Nuts: After laying down a few sheets of filo, spread an even layer of the nut mixture across the dough. Make sure it’s spread out evenly to the edges.
- Repeat the Layers: Continue layering filo dough and nut filling, alternating between the two. Depending on the size of your pan, aim for at least 8 layers of filo dough and 2-3 layers of nuts.
- Finish with Filo Layers: Top the final layer of nuts with more buttered filo sheets, about 6–8 layers, to create a sturdy top for the baklava.
4: Cutting the Baklava
- Cut the Baklava: Cut the baklava into the shape you desire before baking. Traditional baklava is cut into squares or diamonds, but you can experiment with other shapes.
- Tip: Use a sharp knife to cut through all the layers of filo dough, making sure not to press down too hard, which could crush the layers.
5: Baking the Baklava
- Bake the Baklava: Preheat your oven to 350°F (175°C). Bake the baklava for 40–45 minutes or until golden brown and crisp.
- Tip: Watch the baklava as it bakes. It can quickly go from golden to overcooked, so be prepared to remove it once it’s a rich golden color.
6: Preparing the Syrup
- Make the Syrup: While the baklava is baking, prepare the syrup. Combine sugar, water, and a little lemon juice in a saucepan. Bring it to a boil, then reduce the heat and simmer for 10–15 minutes until it thickens slightly.
- Add Flavor: After simmering, add honey (for sweetness) and a few drops of rosewater or orange blossom water for an extra aromatic touch. Stir until well combined.
- Tip: Let the syrup cool completely before pouring it over the hot baklava.
7: Pouring the Syrup
- Soak the Baklava: Once the baklava is out of the oven, immediately pour the cooled syrup evenly over the hot baklava. Allow the syrup to seep into the layers.
- Let it Rest: Let the baklava cool to room temperature, and then allow it to sit for several hours or even overnight so that the syrup fully absorbs and the flavors meld together.
- Tip: Patience is key! Baklava is best when allowed to rest and cool completely.
8: Serving and Storing Baklava
- Serve: Once the baklava has cooled and absorbed the syrup, cut it into the pre-made portions. For the full experience, serve with a cup of Turkish tea or Arabic coffee.
- Storage: Baklava can be stored in an airtight container at room temperature for up to a week. It can also be frozen for more extended storage. Just be sure to let it cool completely before wrapping and freezing.
Troubleshooting Common Baklava Issues
1. Baklava is Too Soggy
If your baklava ends up too soggy, it could be because the syrup is too hot when poured over it. Always let the syrup cool completely before adding it to the hot baklava. Also, ensure that your baklava has cooled enough before serving so that the syrup can soak in properly.
2. Baklava is Too Dry
If your baklava turns out dry, it may be because you did not brush enough butter onto the filo dough layers. Ensure each sheet is fully buttered and has enough butter to coat the top layers before baking.
3. Baklava Layers Aren’t Crisp
If the layers don’t become crisp, it could be because the oven temperature was too low, or the baklava wasn’t baked long enough. Ensure your oven is fully preheated and bake the baklava until it’s golden brown and crispy.

Conclusion: Master the Art of Baklava
Baklava is a timeless dessert that never fails to impress. While it requires patience and attention to detail, the reward is a delicious, decadent treat perfect for any special occasion or as a sweet indulgence. By following the step-by-step instructions, understanding the key ingredients, and practicing a few tips and tricks, you can create bakery-quality baklava in your kitchen.
So, why not take the plunge and make this iconic pastry today? With its rich history, irresistible flavor, and impressive presentation, baklava will become a beloved part of your recipe repertoire. Grab your filo dough, gather your favorite nuts, and get ready to create a dessert that will leave your friends and family asking for more!

